![]()
![]()
![]()
- For the Black Ops III remake, see The Giant (map).
- "The Giant is rising. Face the might of the Nazi Zombies in their heartland. This is where it all began. This is where the master plan took shape. Is this where it all ends?"
- ―Map Description
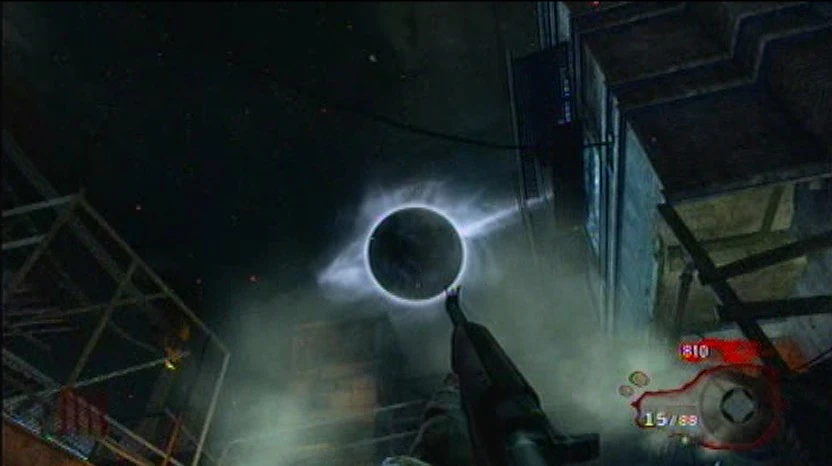

The Moon in the sky on Der Riese.
The Map[]

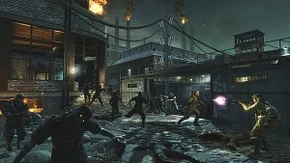
Carnage at Der Riese.
Starting Room[]
Der Riese is
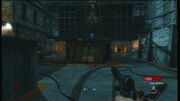
The Starting Room.
Factory Room[]
After opening either one of the doors (they both reveal almost same area), there is a barricade in a room containing a Double-Barreled Shotgun, and a door is in the same room. There is a railing above in which the Zombies can jump down from. There is also two brick walls in which Zombies can break through. There is a barricade to the left side and a door leading to a different room.
Auto Garage Room[]
After opening the door with the Double-Barreled Shotgun, the player will enter the Auto Garage Room. There are a couple of windows and barricades in which Zombies can access. There is also a Thompson in the room. Of course, if you have monkey bombs, throwing one into the furnace will trigger an easter egg.
The Lab[]
After opening the door near the M1 Carbine, the player is lead into a room in which the same wall barricade is placed. There is a railing separating the player from another door. The Player can simply go around there and enter Teleporter Room 2. There is a barricade of boxes up the stairs which will lead to the Mystery Box starting room.
Teleporter Room 2[]
After opening the door on the other side of the railing (in The Lab), the player will enter a room containing yet another Teleporter. It also contains a barricade in which zombies can access, and two of three interactable brain jars. when fly trap is activated a teddy bear appears in one of the caged boxes in the hallway leading to the teleporter room. If the player goes up stairs, there is a balcony-type wall in which they can shoot down at the Zombies entering the First Room. In that Balcony-type room, there is also a barricade. A Mystery Box spawn point is also in this room. underneth the balcony where an open creamation chamber is, there is one of three radios inside.
Courtyard[]
After opening the barricade of boxes in the First Room, it l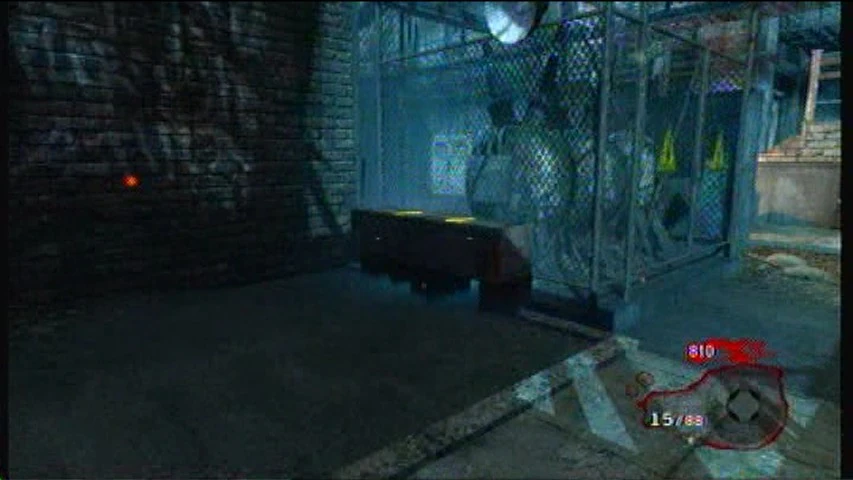
The Mystery Box's first spawn location.
Teleporter Room 3[]
After opening the door in the Mystery Box spawning room, it leads to a building in the factory. The Bowie Knife is placed outside the building near the entrance. Inside the building, the final Teleporter lies. There is also a set of stairs were a barricade is blocking Nazi Zombies approaching from a cave. At the end of the tunnel behind the wall there is a small radio. There is a set of stairs and a spawning point for the Mystery Box, but before the stairs is a bookshelf with one of three radios on top. There is a balcony outside and is used to fire down on Zombies approaching the building. There is also a barricade behind the balcony.
Electricity[]
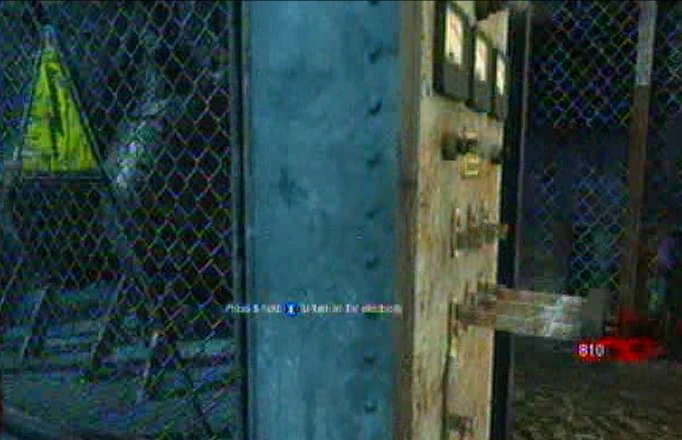

Power Switch
Teleporters[]
To link the teleporters, you need to approach the teleporter and hold the action button. Once you do this a timer will appear for 30 seconds. Within this time you must return to the original room (spawn room) and link it to the mainframe. Only by linking all three teleporters to the mainframe can the pack-a-punch machine be used. Everytime a teleporter is linked, the door opens a little more. It costs 1500 to teleport.
If not done in 30 seconds, you will have to start the process again.
Hellhounds[]
Hellhounds walk about the map, limping until they spot players, at which point they attack, targeting only one player. The monkey bomb does not work on Hellhounds. After round 15, Hellhounds will spawn with the zombies, at the same time.
Power-ups[]
All the original power-ups appear in this map, along with a new one: Carpenter. This power-up rebuilds all windows in the map with boards. Also, the last Hellhound of every Hellhound round will drop a Max Ammo.
Achievements/Trophies[]
Note that achievements/trophies are for the Xbox 360 and PS3 versions of Call of Duty: World at War.
- Elevate Your Senses - Activate the Fly Trap.
- Locksmith - Open all the doors in the map.
- 40 Knives - Kill 40 zombies using the Bowie Knife
- Der Electrician - Link all teleport pads before Round 7.
- Frequent Flyer - Use the teleporter 8 times.
- Wacker Packer - Upgrade any weapon using the Pack-a-Punch machine.
- The Might of the Monkey - Use the Monkey Bomb.
- Perkaholics Anonymous - Survive until Round 20 without buying a single perk.
- Acquire Waffe Weapons - Obtain the Ray Gun, Wunderwaffe DG-2 and the Monkey Bomb at the same time in a game.
- Pack Addict - Upgrade 5 weapons at the Pack-A-Punch Machine in one game .
Easter Eggs[]
- To find the musical Easter egg you need to press use on the three green glowing jars that appear to have spines in them. two of the jars are (when facing away from the pack a punch machine) in the room to the left through the first door, and the third and final one is in the room to the right through the door and up the stairs that have the debris blocking them. When done correctly, the song "Beauty of Annihilation" will play.
- Near teleporter Z-B, if you go onto the balcony, in the destroyed building across the street you can see the legs of a hanging person(similar to hanging people on previous two maps). If shot, feathers seem to come out.
- There is a readable message inside an Air Conditioning unit on the lower side of the bridge that lowers with the power. It is viewable by looking through a crack in the unit with a PTRS's scope. It reads: "In the event of any critical failure, you are instructed to take your cyanide tablet that's included in your field operations kit. In the event that you have misplaced yours, there are several methods that will accomplish the same task. For example, the best..."
- In addition to this message, there are several messages written on the walls that you can clearly see.
- In the Starting Area to the left (facing away from the Pack-a-Punch), one can see a large paper with Illuminati Coding under the vent near the wall.
- In the alleyway on the right (facing away from the Pack-A-Punch machine) there is a distinct shadow of an upright teddy bear on the wall.
- In the room with the Double-Barrel Shotgun, there is a piece of paper under one of the boards giving scientific information.
- In the opposite alleyway, laying down by a wall barrier for the zombies, there is an open Group 935 book. Clicking on it in some instances will make the characters make an uneasy moan.
- In the hall before entering the room with Teleporter Z-A, hidden above the Mystery Box in that hall is a radio. The audio contains a conversation between Maxis and Samantha involving Samantha getting her dog Fluffie.
- In that same hallway there is a blackboard containing messages on them in addition to scientific information. If one looks under the phrase "Never again Sam", they will see 7 symbols together. The symbols spell "Treyarch" in Illuminati Coding.
- In the room with the Teleporter Z-C, there is a radio that contains a conversation held between a doctor testing his patients.
- Additionally, to the right of the teleporter, there is a tunnel with a bloody bear paw. Behind the pipe, there is a desk name tag and a Group 935 book on the ground. If one were to use a sniper, they can see that the tag belongs to Dr. Maxis.
- In the hallway next to the grenades by Teleporter Z-A, at the end of the hallway, there is a pair of bloody bear paws.
- At the end of the tunnel near Teleporter Z-C and right under Quick Revive, there is a hidden radio in the rubble in the wall. The audio contains a message from Maxis discussing production budgets of the Wunderwaffe, teleporters and the Zombies created in addition to needing more Element 115. He will also discuss about the Element being in the "Nevada Base" in the United States, according to German operatives who were stationed in America.
- In the Starting Area, there is another radio hidden in the nook by the barricade that goes underground. Hold the use button and walk around, it's like a green walkie-talkie. It contains audio of Maxis attempting to control Zombie-turned test subjects after they went through the teleporters.
- If you go to Teleporter Z-B, right as you enter, and look down to the left, there is a radio and a pair of legs. The radio is from an unknown German soldier who commits suicide by hanging just as the facility and what seems to be a city become overrun by Zombies. Another pair of legs can be seen outside under a crack in the adjacent building.

Der Riese Secret Messages
The Der Riese radio messages
- If one were to look at the ground outside the fencing by Juggernog (this meaning that Juggernog is to the right of the player), they can see a trail of bloody dog paw prints leading to a large set of doors.
- Additionally, there are bloody dog paw prints under Teleporter Z-B.
- Throwing a Monkey Bomb into the furnace will enrage Samantha, with her saying "Why were you so cruel to Mr. Monkey?! Mr. Monkey just WANTED TO PLAY!!!"
- To the left side of the Starting Area (facing away from the Pack-a-Punch), there is a Zombie barrier. Looking down the alley you will see a pillar. Using a sniper, one can see objects in the rubble near the pillars. If you were to shoot a control panel on one of the pillars with a Pack-a-Punched weapon, the objects will levitate and fly away and you will play Hide 'n Seek with Samantha. The objects to find are two teddy bears, one holding a PaP M1911 and Juggernog with the other holding a Bowie knife and the final object being a Monkey Bomb. To successfully "find" them, you must shoot them.
- It does not matter as to which order you find the objects.
- The Black Ops version of this is also glitched as one of the teddy bears in not visible at a certain angle. Regardless, shooting where the teddy bear should be will still "find" the tabby bear.
- Around the map, there are three planks with countries on them. They read, FRA, ENG, GER. Presumably France, England, and Germany. Some say this is where Group 935 set up other teleporters. This explains how the playable characters got from Shi No Numa to Der Riese and then to Kino Der Toten.

Features[]
- The Monkey Bomb is a new weapon in Der Riese. It is seen in the trailer as the monkey toy with dynamite attached to it, seen at the beginning and end of the trailer. It is used by pressing the secondary grenade button. When placed, the zombies will crowd around it until it explodes.
- Perk machines and electric defenses return to this map.
- There is a Pack-a-punch machine, which can upgrade your weapons. When upgraded, the weapons have engravings on it, and are upgraded to make them more effective.
- The Bowie Knife is another new weapon. When bought, it takes the place of the normal knife. It is a one-hit-kill weapon up to Round 12,where it will take two hits for a kill,and costs 3000 points off the wall.
- Teleporters have been added too. In order to activate them, you must go to one teleporter, activate it, then quickly link it to the mainframe. You have a stopwatch at the top left corner of the screen that indicates how much time you have left to link it to the mainframe. If you succeed, you can teleport only on the ones that you have activated.
- This map uses some elements from Nightfire.
- The FG-42 is a weapon that can now be bought off the wall for 1500 points.
- To use the perk machines, the power must once again be re-activated, like in Verrückt.
- Turning on the power also has the side effect of closing the bridge and opening two doors these both link the left and right areas.
- On the pause screen, a map of the level will appear (unlike the previous maps).
- Zombies can now climb certain ledges and fences.
- The Sawed-off Double-Barelled Shotgun and the Type 99 have been removed due to the fact that Treyarch would receive mails from players that if those weapons were Pack-a-Punched there would be an extremely terrible lag.
Trivia[]
- This map is based on a real top-secret German research facility in Poland, also called Der Riese. The real Der Riese was almost completely underground, and it was the alleged site of development for one of the Nazis' wunderwaffe (wonder weapons), Die Glocke. The exact purpose for Die Glocke is unknown, but some theories include antigravity, teleportation, and time travel (the antigravity theory is supported by a concrete test rig near the Der Riese site, exactly like the easter egg "fly trap" found on the game map.)
- In the animal testing lab, on the blackboard, a note says "Edward, I know it was you !"
- In the room with Quick Revive above the barricade one can see a sign that says "L. Maxis M.D. Office" and in that same window there is another book in the corner.
- Waffenfabrik Der Riese, the words seen on the wall at the beginning of the trailer, are German for "Arms Factory - The Giant". The sign is toward the Hangar while in the Mainframe area. There is also a light above the sign that is always on even when the power is off.
- Unlockable intel in Call of Duty: Black Ops states that a cousin of Lev Kravchenko took part in a massacre at Der Reise. Intel also states that the massacre resulted in a standoff with American troops; it is possible that American troops passing by witnessed the Soviets murdering unarmed civilians and tried to stop them.
- When a player uses a teleporter, words originally written on the walls and diagrams can be seen, as well as zombies, a picture of Richtofen (seen in the loading screen of Shi No Numa) and others things.
- Crawlers now jump and grab planks of wood to break down barricades.
- In the room with the Bowie Knife there is a Teddy bear paw printed in blood.
- When playing on this level, one's Xbox Live Gamercard will list said person as 'Bathing in Nazi Zombie Blood.'
- In the bottom left corner of the map of Der Riese that appears while the game is loading, there is a finger, and in the top right corner, there is an eyeball. However, these features do not return in the Black ops edition of the map.
- There is a staircase marked which does not appear in game, next to the Juggernog stairs and Balcony.
- In Teleporter Room Z-B, in the left of the large canisters, there is half a body visible. It can be seen that the upper half of the body does not exist.
- In the room where there is one brain stem and blackboard in the roof there is a note that reads "To faithful servant, The seed has been planted, observe and report, Maxis must not know."
- In teleporter Z-A a metal door can occasionally be heard slamming.
- The ticking clock in the Main Courtyard reads 1:15, referring to the Element 115.
- Der Riese's loading map is full of question marks. Most lead to hidden notes, while some have yet to be discovered. They may also be where the perk-a-colas were supposed to spawn. If one looks at the design, it is different than the actual map, suggesting that Treyarch changed the map design at the last minute along with removing the Amm-O-Matic. This is also backed up by flying through walls (mods on consoles, cheats on pc) and noticing one is in what appears to be an unfinished room.
- If everyone is quiet while near the power generator, the players can hear what might be little kids singing.
- A woman crying can be heard from the Balcony overlooking the power switch near Teleporter C, other voices and noises can also be heard, but only if there are no nearby zombies.
- Standing on top of the Mystery Box in its first spawn point, the player can slightly hear music playing.
- Through a window, near the hanging man's building, there is messages in a doorway reading "Teddy is a liar" and "Teddy is the biggest liar".
- A dog can be heard whimpering near Teleporter B.
- In the Black ops Terminal, if one puts CAT DERRIESE1.PIC a concept art of Der Riese will be shown (seen from Animal Test Laboratory).
- There are hidden signs saying "JD" in the map.
- In Black Ops, Mule Kick will not give the player 25 points.